X

You want to know how to download Outlook 2017 emails to your hard drive. The following is a description of the email requirements for backing up your Outlook 2017 account. Also the complete process to back up your Outlook 2017 account. Outlook 2017 Backup Utility is the best option to move backups of Outlook 2017 emails, contacts, calendars, etc.before analyzing the process of backing up your Outlook 2017 account in the format you want, we first need to solve some problems.
For email services, Outlook 2017 is one of the most using email clients. Many people use Outlook 2017 for emailing because of its advanced security features. Microsoft Outlook 2017 provides many features such as send an email, chat, save data in the cloud and more. Many users like to manage their email. And save important documents in Outlook 2017 webmail. Now this problem has arisen. After using all these benefits, you need a solution to create backup Outlook 2017 emails to hard drive.
First, If a cloud is more secure then why should we back up a Outlook 2017 account on a hard drive?
Cloud backup is the best way to keep your email safe in a safe place. Today, cybercriminals can easily crack any webmail account. Then abuse it for its intentional purpose. To save a copy of the Outlook 2017 email, making a backup in a safe place is best. Download Outlook 2017 emails to the hard drive, a local computer hard drive, flash drive, etc.
Another reason is to create Outlook 2017 email backups. For example: web based email with desktop email clients such as Outlook, Thunderbird, Mailbird, eM Client etc.
In this case of migration, we need a reliable third-party solution to transfer Outlook 2017 to Outlook, Thunderbird, mailbox, eM Client. In the next section, we found a safe solution for this scenario.
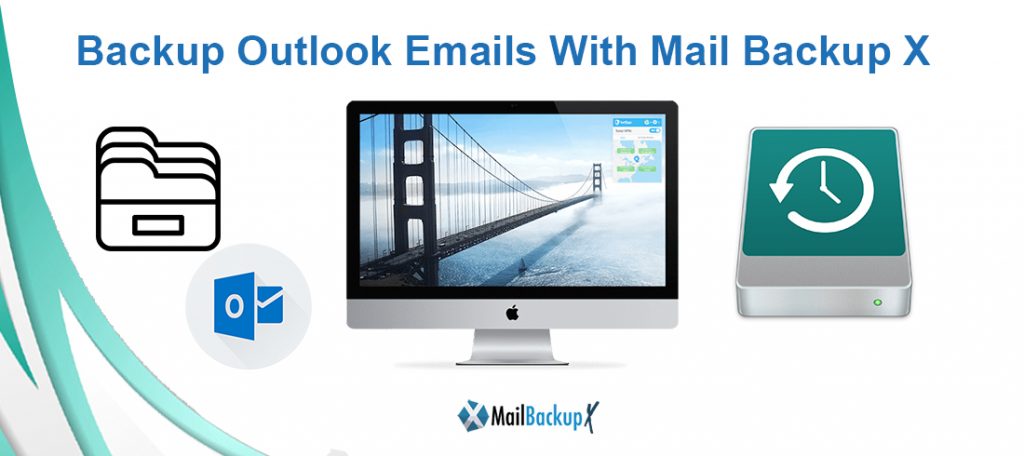
There is no direct method to backup your Outlook 2017 email to your local computer. When users plan to set up their own Outlook 2017 account in Outlook, Thunderbird, Outlook Express or Windows Mail, for POP or IMAP configuration, this will need more time. For a complete and better solution to store Outlook 2017 emails on your computer or hard drive, you can download Mail Backup X.
Backup Outlook 2017 email data
The Outlook 2017 backup tool creates a local backup copy of your Outlook 2017 account (Outlook 2017.com, Outlook 2017 email archive, Live.com, MSN.com). Outlook 2017 backup software is designed to efficiently store Outlook 2017 emails to a hard drive and successfully backup each email from available email folders.
Applicable email download filter
Before you start the process of backing up your Outlook 2017 account data, you can apply filters to it to backup only the data you want. You can take a backup of the archive of Outlook 2017 emails on all mail folders or some selected folders on your desktop. In addition to this, you can also backup a specific range of Outlook 2017 emails by providing a “to” and “from” date range.
Delete after download option
The Outlook 2017 email archive backup app gives you the ability to clear your account for more email storage. The Outlook 2017 email backup tool comes with an option, namely delete after download, which allows you to delete the backed up data from the account after downloading them as a backup.
Speed up Internet bandwidth
Internet bandwidth consumption can be regulated according to your needs. The Outlook 2017 Archive Software comes with an Internet bandwidth limitation option using which you can specify the amount of Internet bandwidth to be used in Kbps or Mbps respectively.
Incremental backup of Outlook 2017 Mail data
This Outlook 2017 Mail Backup for Mac application is designed in such a good way that it has a function to perform an incremental backup. It means that if you have ever downloaded emails from your Outlook 2017 Mail account, next time you will start backing up only new emails. You must check this option to avoid duplicate items in a backup.
Option to delete folders from the backup
In the case of a lot of emails, downloading all (including unwanted data) will be a waste of time and storage space. Therefore, there is the option to exclude some folders from unwanted emails that contain non-important emails depending on the consideration. There is an option to exclude sent items and Deleted Items folder. With the checkboxes enabled, the application will skip these folders and download the rest.
Selective backup of email folders
Instead of downloading all the data associated with the Outlook 2017 Mail account, sometimes the user needs to export only selective data. To deal with such a situation, the software presents the option to download the selective folder on the Mac machine. The include Folder option, you can insert the folder you want to back up and skip the rest. For more filtering of specific emails, you can apply filtering by date range.
Delete data after download option
There is limited storage space in the cloud. Therefore, you should free up some space when you have to save a lot of data to the cloud. To do this, delete Outlook 2017 Mail emails after you back up your Outlook 2017 Mail data to your Mac machine. It is done conveniently by using the Remove after download option. This option allows the user to delete emails from the Yahoo Mail account after completing the backup process. The user can choose the Delete after download the option to empty the account space after downloading emails and attaching them through the tool.
Mac OS support
Outlook 2017 mailbox backup software is able to work efficiently on all versions of Mac OS since Mac OS X 10.8 and later. In addition, you can work on macOS 10.12 and higher versions.
Once you have Downloaded the Dmg file, follow the below mentioned steps.
1. In the first step, double click on the DMG file to Launch the setup Wizad.
2. Now click on tab Continue to proceed to next step.
3. Please select an appropriate location with required disk space to proceed with the Mail Backup X App installation on your Mac
4. Click Continue to next step as Installer checks for the required disk space
5. Click Install to proceed with installation, if you want to change the install location you may choose to do so before you continue with this step. Once you click install, you will be prompted for your system password. Please enter the password to allow the install to proceed.
6. And the installation is completed.