X

Every day we work at the front of the computer and communicate with our customers, executives or colleagues by e-mail, we can say that we cannot work at all without an e-mail system. However, when you deleted important files by mistake or your email system were attacked by a virus or your computer was dead for no reason. When you are looking for data recovery software or apple email restore software, you need to find an apple email restore solution that can recover your files from where you “lost” them.
To understand how to restore deleted emails on a Mac, it is important to know where all your Apple emails and attachments are stored on the Apple Mail of OS X or rather on the specific folder. Identifying this, you can make it easier and most importantly restore your emails.
Most people open email attachments directly from the Apple email client and OS X. Being the helpful assistant; it opens the attachment with the appropriate software/application without showing you where it is stored on the file system. You can edit the document and save it, but by trying to reopen it on the original email, all your changes are gone! Well, that’s because the file you see on the Apple Mail client is not the same as the one that was downloaded when you opened it.
The first thing to check before going any further is to check the “Deleted Messages” tab on your Apple email client. Usually, Apple Mail transfers your deleted emails to another folder (trash) and lists them as deleted emails. This does not mean that your deleted Mail has disappeared forever. Here’s how to access the deleted mail tab.
Usually, deleted emails move to the trash folder placed at the bottom of your folder list in the left panel of the Apple email application. The folder icon looks like an ordinary trash can. Here is how to retrieve deleted emails on mac from the trash folder.
Step 1 Find the trash folder in the left pane of your open Apple email client and click on it. This will open your trash folder including all your deleted emails.
Step 2 Find the email you want to restore and move it to another folder in your Apple mailbox.
Your email will be moved from the trash folder to the target folder and will be accessible immediately; this is only possible if you have not cleared your trash folder.
If you use Time Machine to back up files from your Mac, you can easily recover lost items or recover old versions of files. You can use Time Machine from many apps.
Once you have Downloaded the Dmg file, follow the below mentioned steps.
1. In the first step, double click on the DMG file to Launch the setup Wizad.
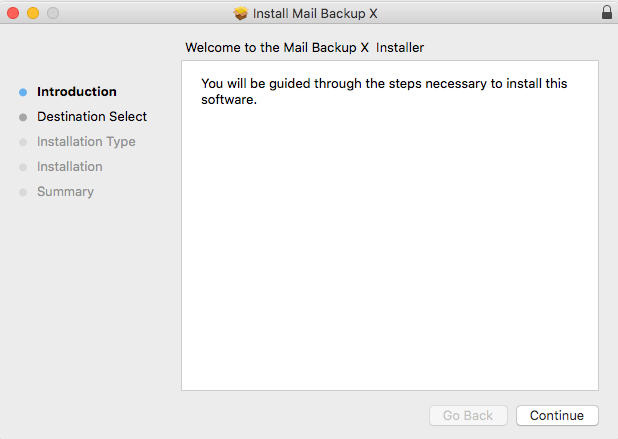
2. Now click on tab Continue to proceed to next step.
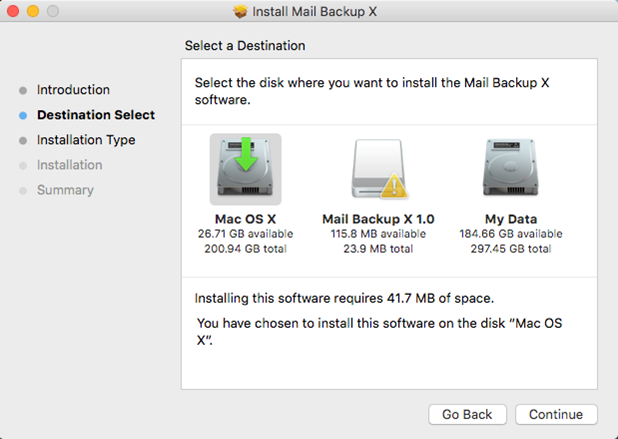
3. Please select an appropriate location with required disk space to proceed with the Mail Backup X App installation on your Mac
4. Click Continue to next step as Installer checks for the required disk space
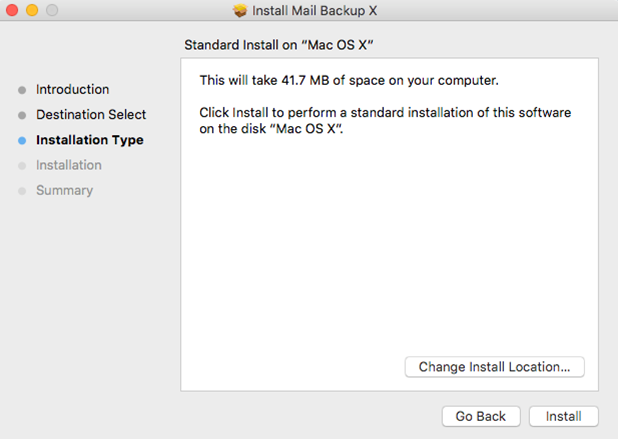
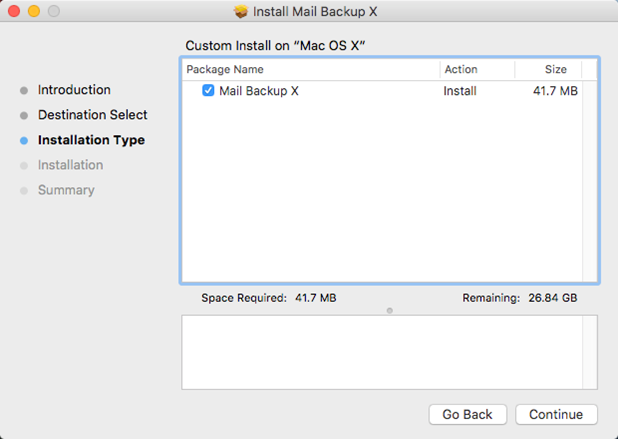
5. Click Install to proceed with installation, if you want to change the install location you may choose to do so before you continue with this step. Once you click install, you will be prompted for your system password. Please enter the password to allow the install to proceed.
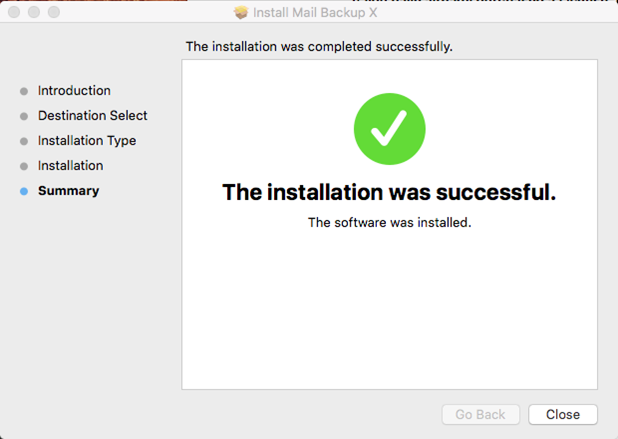
6. And the installation is completed.
Step 1: Download the Mail Backup X application and install it on your Mac.
Step 2: Once the Installation is finished. Start Mail Backup X from the programs / Quick Start menu
Step 3: you can start the fully functional test run of 15 days or activate the application once you have purchased it.
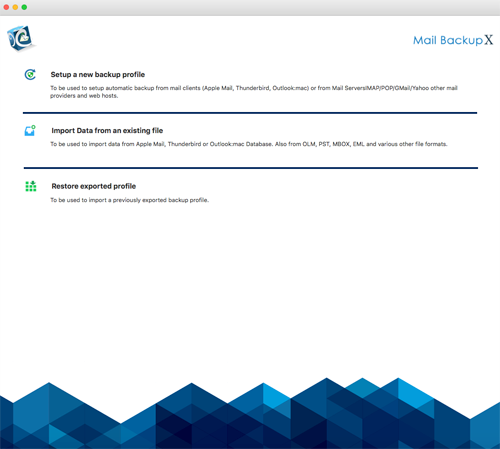
Step 4: you will be prompted to set up a new backup profile. Please select Setup a new Backup Profile
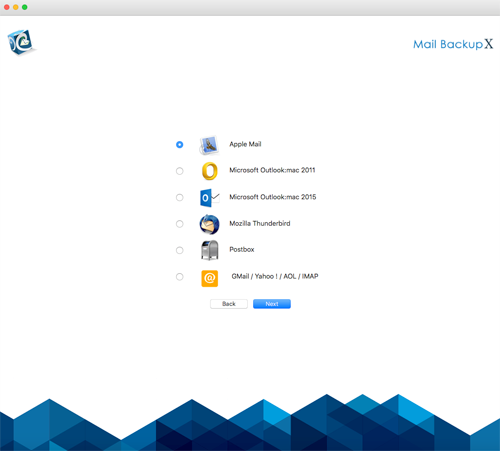
Step 5: the option” Mail Clients” is displayed. Select” Apple Mail ” and proceed to the next step
Step 6: get the folder structure of Apple Mail Accounts. Please select the folders you want to save from Apple Mail
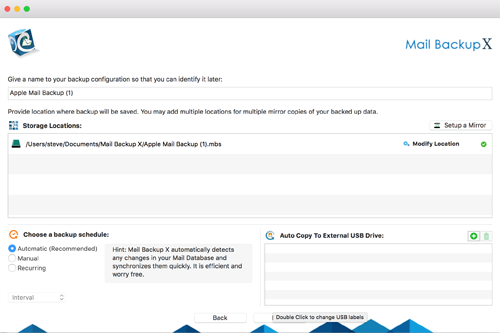
Step 7: now you will see advanced options such as the frequency of mail backup (automatically select as recommended or select the days and time period for backup). You can also specify that mirror locations for multiple copies of backups should be added and set up to provide additional security. You can also enable automatic USB synchronization. So when you connect the USB drive, it automatically copies and synchronizes a copy of the local backup to the USB Disc in the background.
Step 8: the backup profile is set up and your emails are now backed up according to the options and settings you have selected in the previous steps.