X

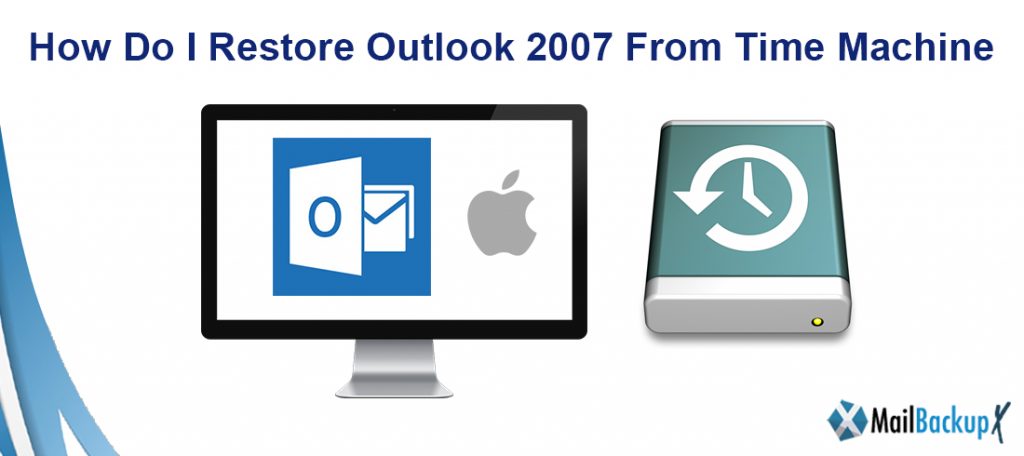
Do you want to know how to restore outlook 2007 from time machine? If so, you have come at the right solution page. We have made a step-by-step guide to back up and restore lost Outlook emails from Mac. So, let’s start with a short introduction to the time machine and its use.
Time Machine is a built-in backup application used to keep an updated duplicate of all files on Mac OS. It is a unique backup application that does incremental snapshots of complete data on Mac so that one can restore it later. Because of this, it becomes simple to recover emails, files, or any other means that can be accidentally deleted.
It can even be used with iWork, iLife, and many other programs to restore files even without abandoning those applications. Apple AirPort can be used to store backups on a network drive. Time Machine functions best with Apple Time Capsule, which is the combination of the AirPort Base Station WiFi router and an external hard drive. However, one can use it with any hard drive connected to your computer via FireWire, USB, or Thunderbolt.
Start a window for the data item to which you want to restore. As:
If you are looking for an automatic way to backup outlook email on Mac, then you can opt for a third-party tool. There have been many tools that can back up Outlook mac, but most professional tools have a problem that is difficult to use and very expensive. That’s by InventPure has designed the first professional tool that is easy to use and also affordable for everyone.
Mail Backup X is the latest certified tool that can archive mail from Outlook mac without any risk. The tool has been designed after much research on what Mac users need. Mac users needed an easy-to-use tool they could trust and this tool does exactly that. The tool works directly on Mac and allows you to back up your Outlook Mac Mail file without the need for experience. The tool comes with a unique and easy-to-use interface that guides the user through every step from installation to the final result. This is why most Mac outlook users want this tool, as it gives you 100% results regardless of their experience. You no longer have to be a professional to get a 100% secure Outlook email backup.
Step 1: Launch the application and configure a new backup profile
This is the initial stage of backup your Outlook mac Mail archive. After you open and start the application, you must configure a new backup profile. This step takes you to the part where you can set up an automatic backup from multiple clients.
Step 2: Add new backup
Now, in the next window, you will see the”backup settings”. You will click on the “Add new backup” option that will take you to the next window where you will choose the email client that you will back up.
Step 3: Choose Your Outlook app
This is the step in which you will select the mail client you want to archive. You must choose the Microsoft Outlook option and then click Next to continue.
Step 4: read the database
This is an important step where the tool traverses the computer and recovers the archived OLM file. You can see progress as the tool traverses each folder.
Step 5: Choose the storage location and click Done
The tool will now prompt you to choose the storage location for the imported file. Once you have chosen the correct location, you can click Done. You can also choose a backup schedule for automatic backup and synchronization.
Backup confirmation screen
You are now on the confirmation screen of your backup. You can view the confirmation and final report along with the location of the saved files. You will also see how many mail items are backed up.
The free trial version of this tool works for a limited time, but gives you access to all the necessary functions. The free trial version works for a limited time, but allows you to use all the features you want to understand how it works. Once you are sure that the tool works well for you, you can easily upgrade to its full version that comes in multiple affordable packages. The full version also gives you free support and free lifetime updates.